
Resin drip sculpture is a beautiful and unique art form that has become increasingly popular in recent years. Its creation involves pouring different colored paints onto a resin sculpture surface to produce beautiful and intricate textures and color effects. In this article, we will share with you the knowledge related to resin drip sculpture from a Chinese supplier’s perspective.
What is Resin Drip Sculpture?
1. What is Resin Drip Craft?
“Drip painting” is a technique where paint or dye is poured onto a surface in a uniform or irregular pattern to create a decorative effect. With this technique, different paints or dyes can be mixed and poured onto the surface to create unique texture and color effects.
2. What is Resin Drip Sculpture?
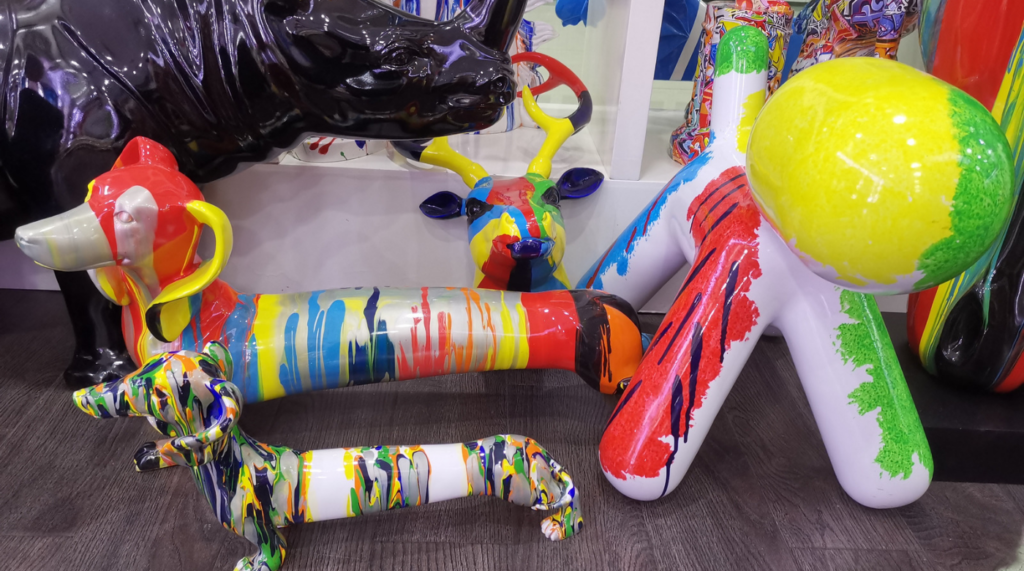
The resin drip sculpture is a craft that involves pouring different colored paints evenly or irregularly onto the surface of a resin sculpture and using a pouring technique to distribute them across the surface. During this process, the different colors of paint unite together to create unique textures and color effects that enhance the overall beauty of the sculpture. Additionally, the resin drip painting technique creates a protective layer on the surface, which can extend the sculpture’s lifespan.
3. What are The Advantages?
Colorful: unite different paints together to create a vibrant and lively color effect and enhance the sculpture’s beauty.
Artistic: the niche textures and color effects make the whole sculpture more artistic and visually appealing.
How to Make Resin Drip Sculpture?
- Prepare tools and materials: prepare unpainted resin sculpture that needs to be colored, paints or dyes, mixing cups, muddlers, gloves, masks, etc.
- Mix the paints: choose the colors according to the requirements, and mix paints of different colors in a particular proportion to get the appropriate concentration and viscosity.
- Test painting: choose an inconspicuous position to test a small number of mixed paints first, to make a final check if the color and paint quality meet the requested.
- Make adjustments: adjust the paint ratio appropriately to ensure that the color and texture effect meet expectations according to the test results.
- Start painting: pour paint on the resin sculpture surface, can use the dripping or flowing method, and remember to control the paint flow rate and direction.
- Paint amount: control paint amount and thickness as needed to avoid excessive flow, which can cause color confusion or unclear texture.
- Curing process: after the paint is dried, it needs to be left to cure in a curing room or specific environment to wait to cure fully. Different paints require different curing times and usually need several hours or days.
- Refine and inspect: after the paint is cured, perform the refinement and inspection process, removing excess pigment and paint defects to ensure the quality and aesthetic level of the resin drip sculpture.
Production Difficulties
The main challenge in creating resin drip sculptures is achieving precise control over the paint mixing ratio, flow rate, and color matching in order to achieve the desired texture and color effects. This requires skilled workers who possess a strong understanding of color mixing and possess a keen artistic and color perception. Additionally, it is important to strictly control important factors such as temperature, humidity, and time at each step of the production process in order to ensure the final sculpture’s quality and stability. As such, people are the key to producing high-quality resin drip sculptures, and experienced workers with strong skills play a vital role in overcoming the challenges of the production process.